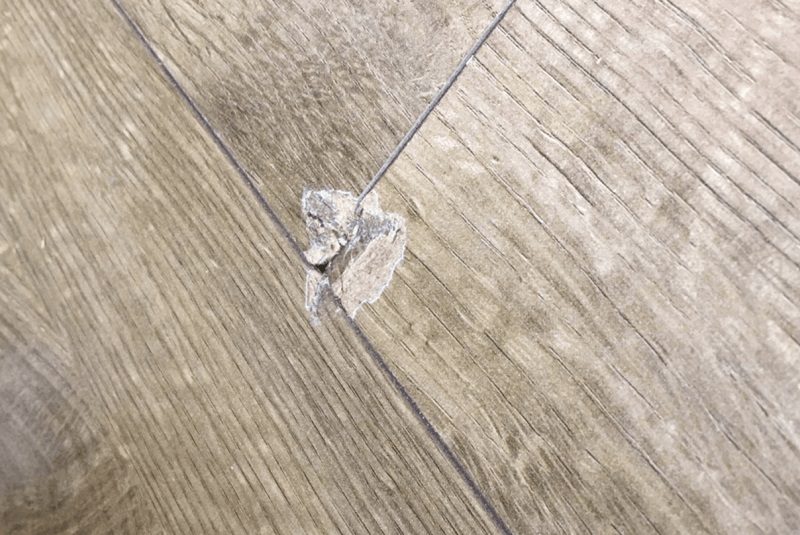
Nevertheless, laminate flooring has minor chips, dings, and scratches or water damaged-board that can make your home look unsightly. Repairing it can be a project you can do yourself with the proper technique and tools. Here’s a guide to improving chipped laminate flooring by yourself.
Before You Begin
Before you repair your laminate floor, you must know what causes chipped laminate flooring at home.
- Improper installation: installation is the main reason for the chipped laminate floor. This is due to laminate floors being put together, and it may get chipped when stacked side by side.
- Accidental drops: accidentally dropping an object may leave a dent depending on the object’s weight.
- Heavy machinery: using heavy machinery can leave scratches, dings, and chips due to friction on laminate floors.
- Hard plastic toys or tools: hard plastic toys or tools can abrade laminate finish.
Steps for Repairing Chipped Laminate Flooring
1. Clean the area
Start by cleaning the chipped area and removing any debris or loose particles. Use a soft brush or vacuum cleaner to ensure the surface is clear.
2. Prepare the repair materials
You’ll need laminate filler or putty specifically designed for repairing laminate flooring. Purchase a color that matches your flooring as closely as possible. You may also need a putty knife or a small spatula for application.
3. Apply the filler
Press a small amount of the filler or putty into the chipped area using the putty knife or spatula. Fill the chip evenly, ensuring it is level with the surrounding flooring. Smooth the surface of the filler as much as possible to create a seamless finish.
4. Remove excess filler
Wipe any excess filler from the surrounding area using a clean cloth or a damp sponge. Be careful not to disturb the repaired section.
5. Allow drying time
Let the filler dry completely according to the manufacturer’s instructions. This may take several hours or longer, depending on the product used. Avoid stepping on or placing any objects on the repaired area during this time.
6. Sand and blend
Once the filler is fully dry, gently sand the repaired area with fine-grit sandpaper to create a smooth and even surface. Don’t sand too aggressively, or you may damage the surrounding laminate.
7. Clean and maintain
After sanding, clean the area again to remove any dust or debris. Regularly clean and maintain the repaired section as you would the rest of your laminate flooring to preserve its appearance and prevent further damage.
Note: The effectiveness of this repair method may vary depending on the extent of the damage and the quality of the laminate filler or putty used. For larger or more severe damages, replacing the affected laminate planks may be necessary.
It’s always a good idea to test the filler or putty on a small, inconspicuous area of your laminate flooring before applying it to the chipped section. This will help you ensure that the color match is satisfactory and that the repair method produces the desired results.
If you’re uncertain about performing the repair yourself or the damage is extensive, it’s recommended to consult a professional flooring installer or seek expert advice. If you need help to repair your chipped laminate flooring, you can contact us.
Comments
[…] flooring here:9 Steps for Installing Laminate Flooring by YourselfHow to Make Laminate Floor ShineRepairing Chipped Laminate FlooringHow to Repair Damaged Laminate […]