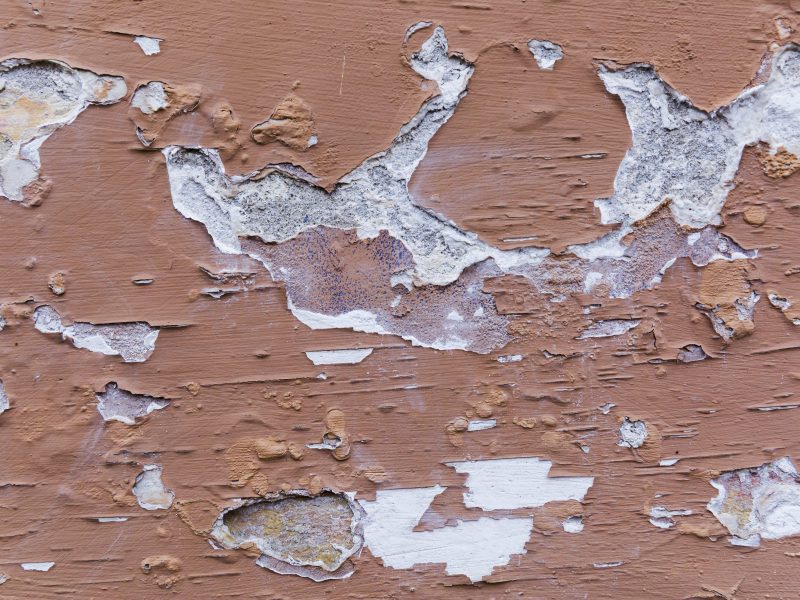
Restoring Brilliance: A Comprehensive Guide on How to Repair Chipped Paint
Chipped paint can be an eyesore on any surface, but fear not – with a little know-how and some simple tools, you can restore your walls and furnishings to their former glory. In this comprehensive guide, we’ll walk you through the art of repairing chipped paint, step by step. From safety precautions to meticulous patching and seamless repainting, discover the techniques that will help you achieve a flawless finish and keep your surroundings looking impeccable.
Materials You’ll Need:
- Paint: You’ll need the same paint color and finish as the existing wall or surface. If you don’t have the original paint, you can take a paint chip to a hardware store for color matching.
- Primer: If the chipped area is down to the bare surface or drywall, you’ll need a primer to ensure proper paint adhesion.
- Painter’s Tape: To protect adjacent areas from paint splatter.
- Sandpaper: Fine-grit sandpaper (usually around 120-220 grit) for smoothing the repaired area.
- Putty Knife: For scraping away loose or peeling paint and for applying filler.
- Spackling Compound: For filling in the chipped or damaged area.
- Paintbrush or Roller: Appropriate for the size of the repair area.
- Drop Cloth or Plastic Sheet: To protect the floor from paint and debris.
- Safety Gear: Safety glasses or goggles and a dust mask for protection.
Tools You’ll Need:
- Paint Scraper: To remove loose or peeling paint.
- Sanding Block: For sanding the repaired area.
- Utility Knife: For precise cutting of loose paint edges.
- Paint Tray: If using a paint roller.
- Bucket: If mixing paint or primer.
- Stir Stick: For mixing paint and primer.
Step 1: Safety First
- Wear safety glasses or goggles to protect your eyes from debris, and use a dust mask if you’re working with older paint that may contain lead. Safety is paramount when working with paints and coatings.
Step 2: Prepare the Area
- Lay down a drop cloth or plastic sheet to protect the floor from paint drips and debris. This will make cleanup much easier.
- Use painter’s tape to mask off adjacent areas, such as the ceiling, baseboards, or trim. This prevents unintentional paint splatters and ensures clean lines.
Step 3: Remove Loose Paint
- Use a paint scraper to gently remove any loose or peeling paint around the chipped area. Hold the scraper at a slight angle and apply even pressure to avoid gouging the surface.
- If the paint is stubborn, a light sanding with fine-grit sandpaper can help smooth the edges of the chipped area.
Step 4: Smooth the Edges
- Carefully use a utility knife to trim and smooth any rough or uneven edges around the chipped area. This step ensures that the repaired area blends seamlessly with the surrounding surface.
Step 5: Apply Spackling Compound
- Take a small amount of spackling compound on a putty knife and press it into the chipped area. Spread it smoothly and evenly, slightly overfilling the damaged region.
- Feather the edges of the spackling compound so that it blends into the surrounding surface.
Step 6: Let It Dry
- Allow the spackling compound to dry completely, following the manufacturer’s recommended drying time. Typically, this takes a few hours, but it can vary depending on humidity and temperature.
Step 7: Sand the Repair
- Once the spackling compound is dry, use fine-grit sandpaper (around 120-220 grit) or a sanding block to gently sand the repaired area. Sand in a circular motion until it’s smooth and level with the surrounding surface.
- After sanding, wipe away dust and debris with a clean, damp cloth.
Step 8: Prime (If Needed)
- If the chipped area exposed bare surface or drywall, apply a coat of primer to ensure that the paint adheres properly. Use a paintbrush or roller to apply a thin, even coat of primer.
- Let the primer dry completely, typically within a couple of hours.
Step 9: Paint
- Once the primer is dry, it’s time to apply the matching paint color. Use a paintbrush for small repairs and a roller for larger areas. Feather the paint into the surrounding surface to achieve a seamless blend.
- Apply multiple coats if necessary, allowing each coat to dry completely before applying the next one. Follow the drying time recommendations on the paint can.
Step 10: Clean Up
- Remove the painter’s tape carefully at a slight angle to avoid peeling the fresh paint.
- Clean your brushes, rollers, and any other tools with soap and water or the appropriate cleaning solution for the type of paint you used.
With these detailed steps, you can effectively repair chipped paint, leaving your walls or surfaces looking refreshed and well-maintained. Remember to exercise patience, as proper drying times and attention to detail are key to achieving a professional finish. To find a professional service, you can contact us.

Comments