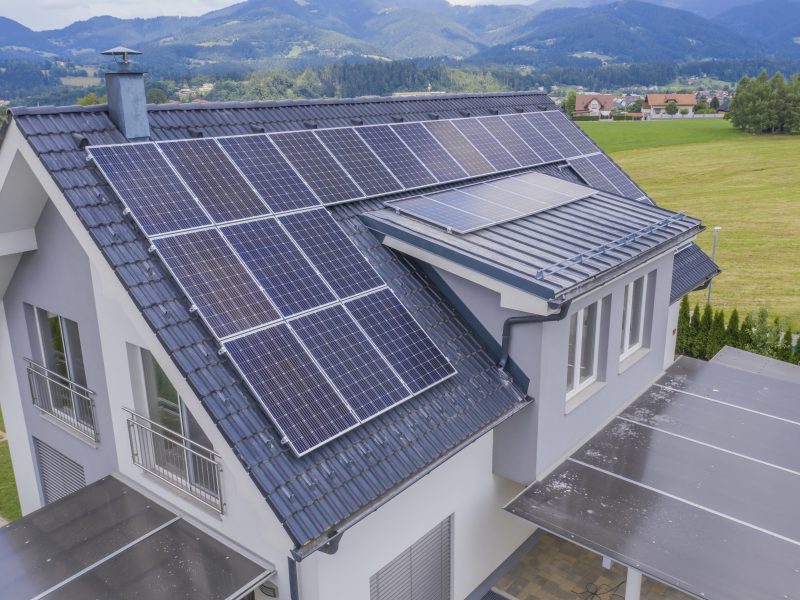
The best option for living sustainably at home and reducing dependency on the outdated electrical infrastructure is to switch to solar energy. Solar panel installation can reduce energy costs and benefit the environment. It takes careful planning, as well as the appropriate tools and equipment, to install solar panels at home. Here is a general instruction on how to install solar panels, along with a list of potential tools and equipment.
Tools and Equipment
- Ladder or scaffolding
- Tape measure
- Level
- Drill or impact driver
- Screwdriver
- Wire strippers
- Wire strippers
- Solar panel mounting brackets
- Roof anchors
- Mounting rails
- End clamps and mid clamps
Step-by-Step Installation Guide:
1. Assess your energy needs
Determine your energy requirements and the number of solar panels needed to meet your energy goals.
2. Obtain necessary permits
Check with your local authorities for any permits or approvals required for solar panel installation.
3. Choose the mounting location
Identify the ideal location on your roof or property for solar panel installation, considering factors like sunlight exposure, shading, and roof orientation.
4. Install roof anchors
Attach roof anchors securely to the rafters or trusses of your roof to provide a stable base for the mounting system.
5. Mount the rails
Install the mounting rails onto the roof anchors, ensuring they are level and securely fastened.
6. Attach the solar panel mounting brackets
Place the solar panel mounting brackets onto the rails, spacing them according to the size of your solar panels.
7. Install the solar panels
Attach the solar panels to the mounting brackets using end clamps and mid clamps, following the manufacturer’s instructions.
8. Connect the solar panels
Connect the solar panels together in series or parallel using solar panel cables and connectors, following the wiring diagram provided by the manufacturer.
9. Ground the system
Install grounding equipment, such as grounding lugs and wires, to ensure electrical safety and comply with regulations.
10. Install the inverter
- Mount the inverter in a suitable location near the main electrical panel.
- Connect the solar panel cables to the inverter, following the manufacturer’s instructions.
11. Install the junction box and conduit
- Install a junction box near the solar panels to house the electrical connections.
- Use electrical conduit and fittings to protect and route the wiring from the solar panels to the junction box and from the junction box to the main electrical panel.
12. Connect to the electrical panel
- Install a dedicated circuit breaker and fuse box for the solar panel system.
- Connect the wiring from the solar panels to the circuit breaker and fuse box using wire connectors and electrical tape.
13. Connect to the utility grid (if applicable)
- If your system is grid-tied, connect the solar panel system to the utility grid according to your local regulations.
- Install a utility meter or net meter (if required) to monitor the energy production and grid interaction.
14. Test the system
- Conduct a thorough inspection and testing of the solar panel system to ensure proper connections, wiring, and functionality.
- Check with a professional electrician to verify the system’s safety and compliance.
Please note that this is a general overview, and the installation process may vary based on the specific solar panel system and local regulations. It’s recommended to consult with a professional solar installer or electrician or you can contact us. We will help.

Comments