When you want to update your kitchen, you should add an unique, eye-catching and classy style. Installing a brick backsplash is a prefect idea touch to your space. Here’s a beginner-friendly guide on how to install a brick backsplash.
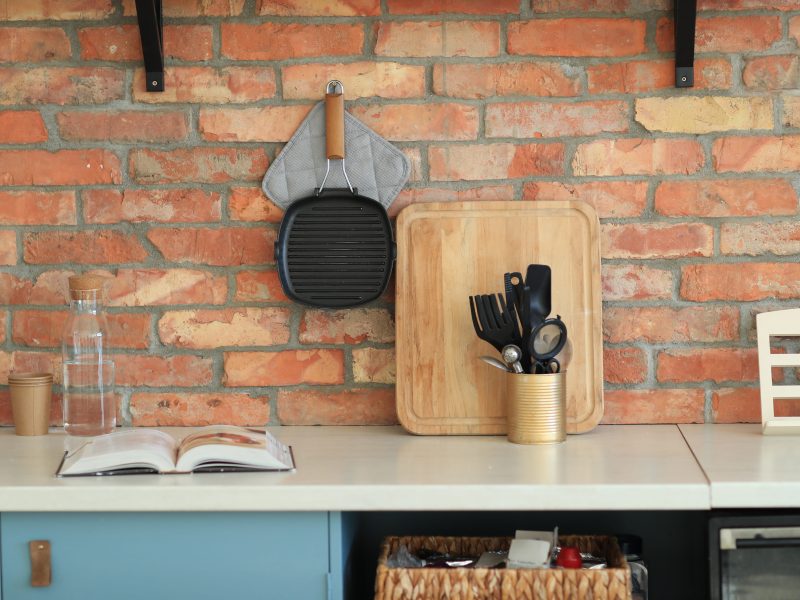
Before we start, you must be wondering what a brick backsplash is. A brick backsplash is a hard covering for the wall behind the kitchen countertops. It is decorative and functional. As décor, a brick backsplash creates a solid, classic look. Functionally, a brick backsplash protects the wall from damage with its hard, thick covering.
Tools and Materials
Tools:
- Drill with mixing paddle attachment (for mixing mortar)
- Margin trowel or putty knife
- Rubber mallet or hammer
- Tile cutter or angle grinder (if cutting bricks)
- Sponge or damp cloth for cleanup
Materials:
- Thin brick veneer or brick tiles
- Mortar adhesive or thin-set mortar
- Notched trowel
- Grout
- Grout float
- Sponge
- Level
- Tile spacers (optional)
- Tile saw or wet saw (if cutting bricks)
- Measuring tape
- Spacers (such as wooden shims)
- Protective gloves and goggles
- Bucket for mixing mortar and grout
- Grout sealer (optional)
Step-by-Step Guide
1. Prepare the surface
- Clean the wall surface where the brick backsplash will be installed, ensuring it is free of dirt, grease, and debris.
- If necessary, repair any damaged or uneven areas on the wall and allow them to dry completely.
2. Measure and plan
- Measure the area where the brick backsplash will be installed, and determine the layout and pattern you want to achieve.
- Consider using tile spacers or wooden shims to maintain consistent spacing between the bricks.
3. Mix the mortar
- Follow the manufacturer’s instructions to mix the mortar adhesive or thin-set mortar in a bucket using a drill with a mixing paddle attachment.
- Aim for a consistency similar to peanut butter.
4. Apply mortar to the wall
- Use a notched trowel to apply a layer of mortar to a small section of the wall, starting from the bottom.
- Create grooves in the mortar using the notched side of the trowel.
5. Install the bricks
- Press the bricks firmly into the mortar, starting from the bottom and working your way up.
- Use a level to ensure the bricks are straight and aligned.
- If needed, cut bricks using a tile saw or wet saw to fit around corners or edges.
- Tap the bricks gently with a rubber mallet or hammer to ensure they are securely set in the mortar.
6. Continue installing bricks
- Repeat steps 4 and 5, working in small sections at a time, until the entire backsplash area is covered with bricks.
- Periodically check the level and adjust as necessar
7. Allow the mortar to set
Allow the mortar to set and dry according to the manufacturer’s instructions. This typically takes 24-48 hours.
8. Apply grout
- Mix the grout following the manufacturer’s instructions.
- Use a grout float to apply the grout to the brick joints, pressing it firmly into the gaps.
- Remove excess grout from the brick surfaces using a damp sponge or cloth, being careful not to disturb the grout in the joints.
- Allow the grout to dry for the recommended time before proceeding.
9. Clean and seal
- Clean any remaining grout haze from the bricks using a clean, damp sponge or cloth.
- Once the grout has fully cured, consider applying a grout sealer to protect the grout and facilitate cleaning (optional).
10. Final touches
- Inspect the backsplash for any loose bricks or uneven grout lines.
- Make any necessary adjustments and touch-ups to ensure a polished final look.
Remember to follow all safety precautions, such as wearing gloves and goggles, when working with mortar and tools. If you have any doubts or concerns, it’s always recommended to consult a professional or seek guidance from an experienced individual and you can contact us. We will help.
Comments