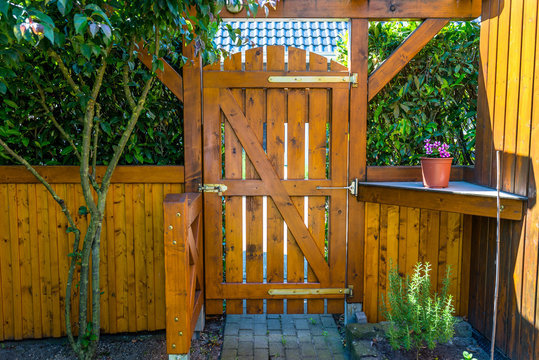
You need a gate if you want access to and from your home. Instead of you are purchasing a gate, you can build one yourself. Building a gate for your wood fence can be easy if you follow the correct process. Here is a guide on how to build a wooden fence or a wooden gate.
Tools and Materials
Tools
- Tape measure
- Level
- Screwdriver
- Screws or nails
Materials
- Saw (circular saw or miter saw)
- Drill
- Hinges
- Latch or lock
- Gate hardware (such as gate handle and gate stop)
- Pressure-treated lumber for the frame and pickets
- Fence posts
- Post hole digger or shovel
- Concrete mix (if setting new fence posts)
Step-by-step instructions
1. Measure and plan
- Determine the desired width and height of your gate. Measure the opening where the gate will be installed.
- Plan the design of your gate, considering the style and spacing of the pickets.
2. Dig the fence post holes (if needed)
- If you don’t have existing fence posts, use a post-hole digger or shovel to dig holes for the fence posts on either side of the gate opening.
- Follow local building codes and guidelines for the recommended depth and spacing of the post holes.
- Pour concrete mix into the holes and set the fence posts. Allow the concrete to cure according to the manufacturer’s instructions.
3. Cut the frame pieces
- Cut the horizontal and vertical frame pieces from pressure-treated lumber based on your measurements.
- Use a saw to make accurate cuts. Ensure the corners are square.
4. Assemble the frame
- Lay the cut frame pieces on a flat surface.
- Align the corners and use a drill and screws or nails to attach the frame pieces securely.
- Check that the frame is square by measuring the diagonals. The measurements should be equal.
5. Attach the pickets
- Measure and cut the pickets to fit the width of the frame.
- Place the pickets on the frame, evenly spaced. Leave a small gap between each picket for expansion and contraction.
- Use a drill and screws or nails to attach the pickets to the frame.
6. Install the hinges
- Determine the location of the hinges on the gate and fence post.
- Mark the screw hole locations and pre-drill pilot holes.
- Attach the hinges to the gate frame and the fence post using screws.
7. Hang the gate
- With the help of a friend, hold the gate in the desired position, aligning it with the fence opening.
- Use a level to ensure the gate is plumb and level.
- Secure the hinges to the fence post by driving screws into the pilot holes.
8. Install the latch and gate hardware
- Determine the location of the latch on the gate and the corresponding position on the fence post.
- Mark the screw hole locations and pre-drill pilot holes.
- Attach the latch using screws.
- If desired, install additional gate hardware, such as a gate handle and stop.
9. Test the gate
- Open and close the gate to ensure smooth operation and proper alignment.
- Make any necessary adjustments to the hinges, latch, or hardware for a secure fit.
It’s important to follow local building codes and fence installation regulations, including fence height, setback, and materials guidelines. Additionally, consider treating or sealing your wooden gate to protect it from the elements and prolong its lifespan.
Building a wooden fence gate requires attention to detail and precise measurements. With proper planning and execution, you can create a functional and attractive gate that complements your fence. If everything up to this point makes it difficult for you, you can easily contact us. We will help!

Comments