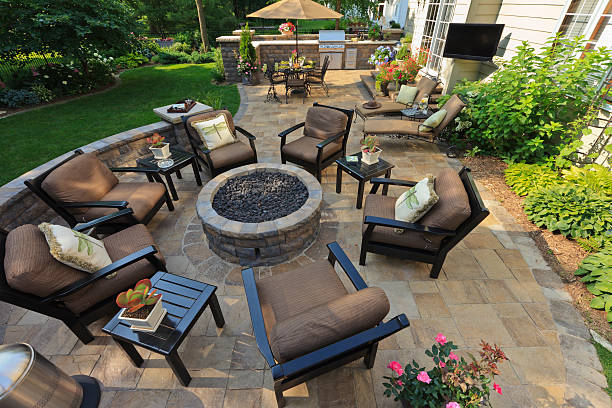
A patio is the best outdoor space for BBQ, dining area, outdoor party, and relaxing and enjoying the good weather with your family and friends. Also, it improves the appearance of any garden by providing some visual texture and variation. Building a patio can be a rewarding DIY project, even for beginners. Here’s a guide to building a patio by yourself.
Tools and Materials You’ll Need
Tools:
- Shovel
- Wheelbarrow
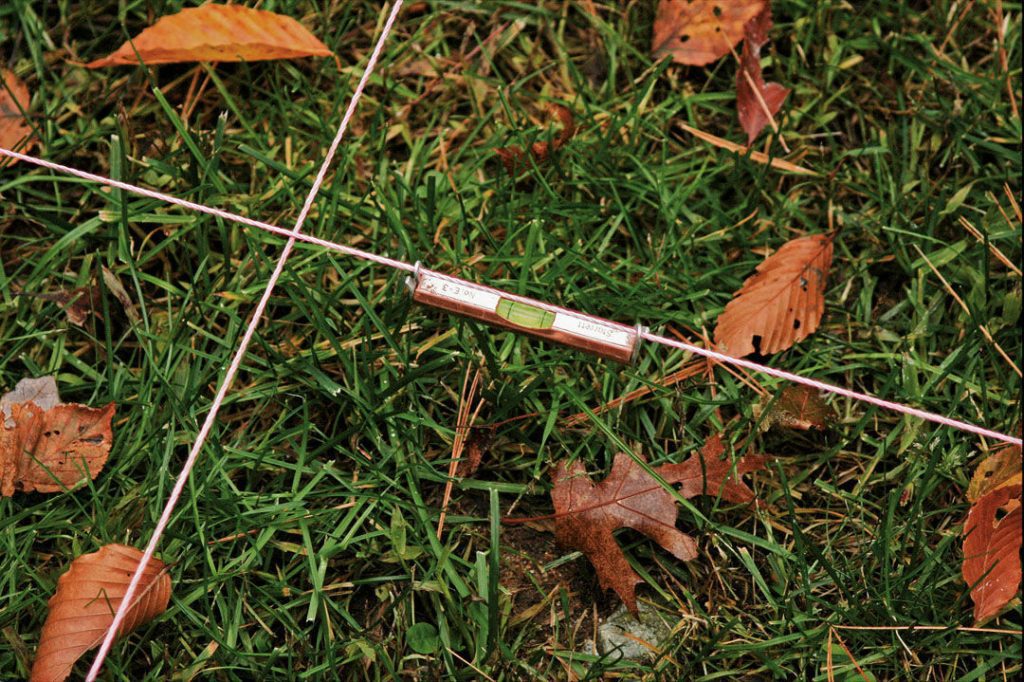
- Level
- Tape measure
- Tamper or plate compactor
- Rubber mallet
- Mason’s string and stakes
- Trowel
- Broom
- Saw
Materials:
- Pavers
- Gravel
- Sand
- Landscape fabric
- Edging material
- Crushed stone or stone dust
- Jointing material
- Paver sealer, weed killer, landscape adhesive (optional)
Step-by-step instruction
1. Plan and design your patio
Determine the size, shape, and location of your patio. Consider factors such as the purpose of the patio, available space, and any specific features you want to incorporate.
2. Gather materials and tools
Estimate the materials you’ll need based on the size and design of your patio. Common materials include pavers, gravel, sand, landscape fabric, and edging. Additionally, gather tools such as a shovel, wheelbarrow, tamper, level, tape measure, rubber mallet, and a mason’s string.
3. Prepare the area
Clear the area where the patio will be constructed. Remove any vegetation, rocks, or debris. Mark the boundaries of the patio using stakes and string.
4. Excavate the site
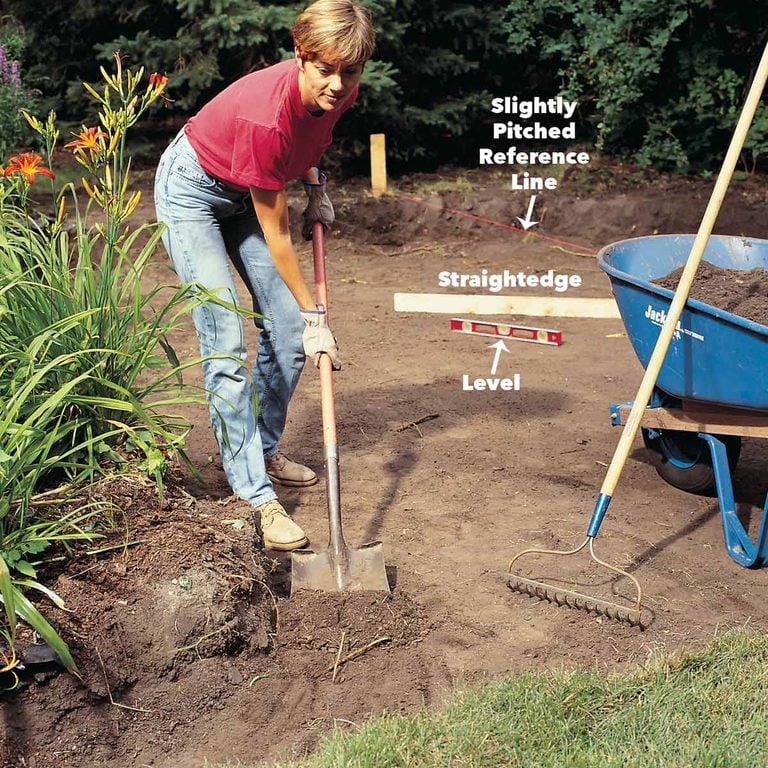
Dig the area to a depth of approximately 6 to 8 inches. Use a shovel or rent a small excavator if necessary. Ensure the area is level and sloped away from the house for proper drainage.
5. Install a base layer
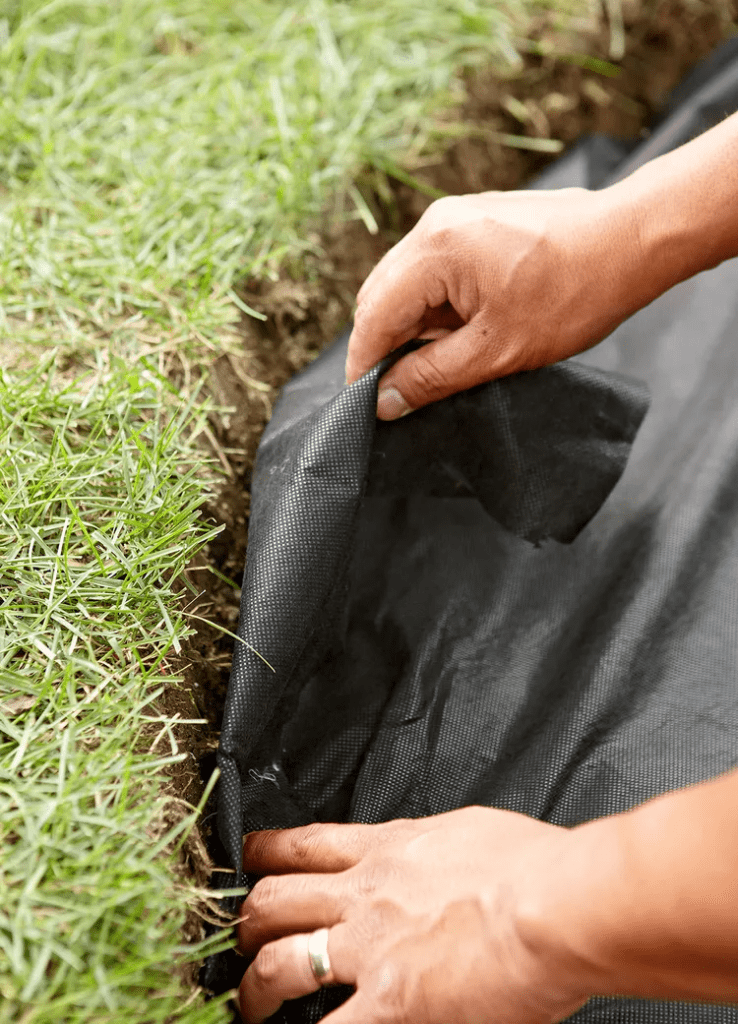
Lay a geotextile landscape fabric over the excavated area to prevent weed growth. Add a layer of crushed gravel or stone screenings and spread it evenly. Compact the gravel using a tamper to create a stable base.
6. Add a layer of sand

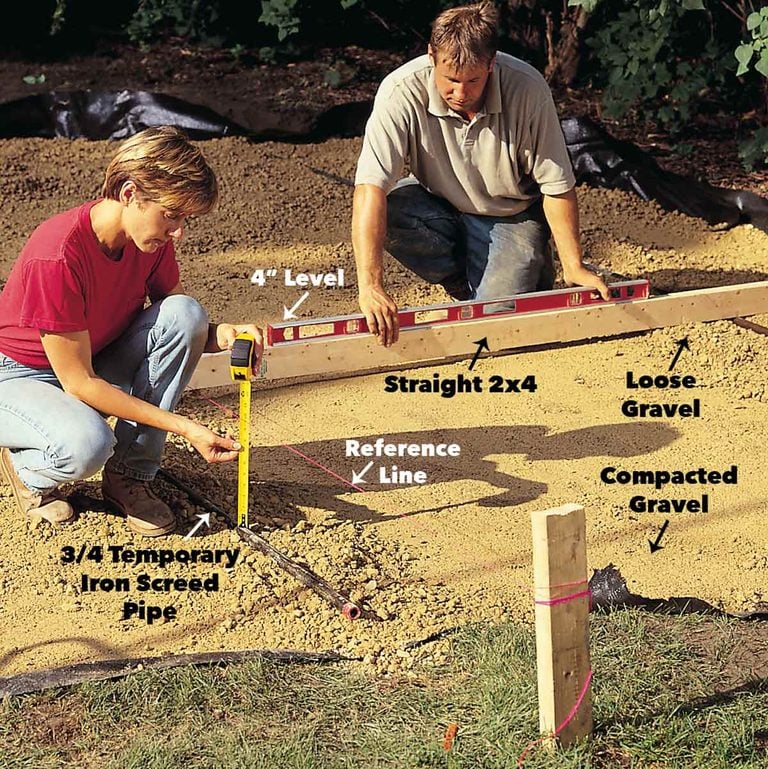
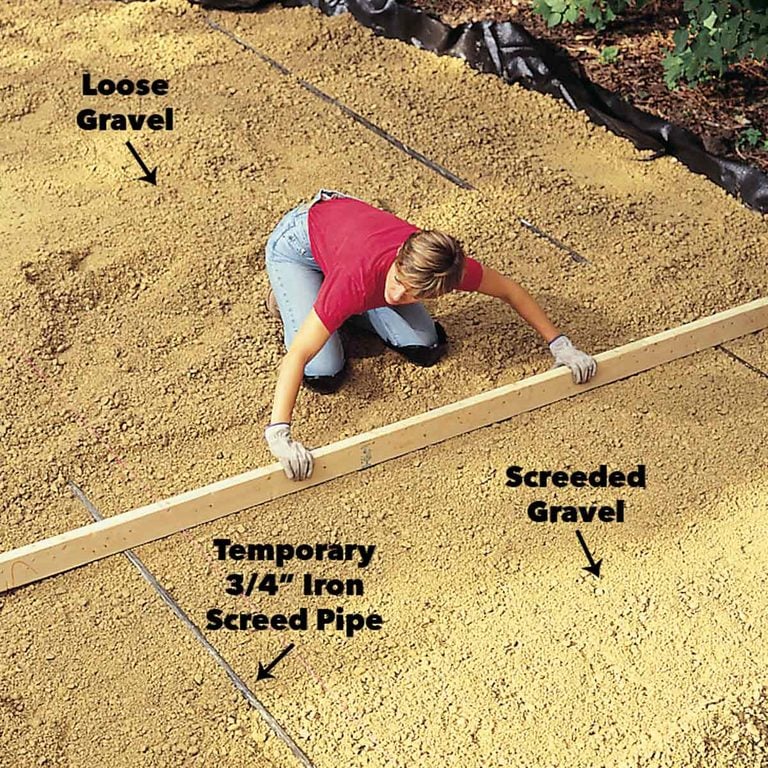
Spread a layer of sand over the compacted gravel. Use a screed board or a long, straight piece of wood to level the sand.
7. Lay the pavers

Start laying the pavers from one corner of the patio area. Place them close together, leaving a small gap between each paver for sand. Use a level to ensure the pavers are even and flat. You can use different patterns or designs based on your preference.
8. Secure the pavers
Use an edging material such as plastic or metal to secure the outer edge of the patio. This will help keep the pavers in place and prevent shifting over time.
9. Fill gaps with sand
After laying all the pavers, spread sand over the surface. Use a broom to sweep the sand into the gaps between the pavers. This will help stabilize them and prevent weed growth.
10. Compact and level
Use a plate compactor or a tamper to compact the entire patio surface. This will ensure stability and help settle the pavers into the sand.
11. Clean and seal (optional)
Clean the patio surface with water to remove any excess sand or debris. If desired, apply a paver sealer to enhance the appearance and protect the pavers from stains and weathering. Follow the manufacturer’s instructions for application.
When working on your patio, remember to wear appropriate safety gear, such as gloves and safety glasses. Take your time and double-check the levelness and alignment of the pavers throughout the process. If you encounter any challenges or uncertainties, consult with professionals or seek guidance from local experts to ensure a successful patio installation or you can contact us. We will help!
Related post:
How to Protect Your Deck or Patio From Summer Heat
Comments
[…] How to Build a Patio for Your Backyard […]