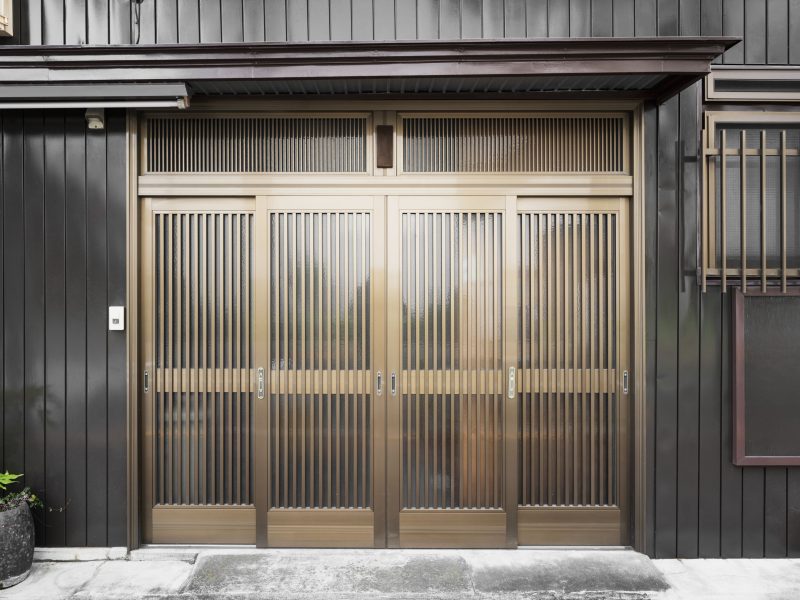
Seamless Transitions: A Comprehensive Guide to Installing Sliding Doors
Opening up space and adding a touch of modern elegance to your home is just a few steps away. In this thorough guide, we’ll walk you through the process of installing sliding doors, offering step-by-step instructions alongside the essential tools and materials needed. Whether you’re looking to partition rooms, create a stylish entryway, or optimize space, discover how to bring the convenience and sophistication of sliding doors into your living spaces with confidence.
Materials You’ll Need:
- Sliding Door Kit: This includes the sliding door panels, track, rollers, and all necessary hardware.
- Shims: For leveling the door frame.
- Screws: To secure the track and frame to the wall.
- Wood Putty: For filling any visible screw holes.
- Paint or Stain: To finish the door frame and match your home’s décor.
- Door Handles or Knobs: If not included in the kit.
Tools You’ll Need:
- Tape Measure: For precise measurements.
- Level: To ensure that everything is straight and plumb.
- Cordless Drill/Driver: For drilling pilot holes and driving screws.
- Screwdriver: For adjusting roller height and other minor adjustments.
- Circular Saw: To trim the track and frame if necessary.
- Safety Gear: Safety glasses, work gloves, and ear protection.
Step-by-Step Guide:
Step 1: Measure and Prepare
- Measure the height and width of your door frame to ensure the sliding door kit you’ve purchased fits correctly.
- Check that the wall and floor are level where you plan to install the door. If not, you’ll need shims to level the frame.
Step 2: Assemble the Door Panels
Step 1: Measure and Prepare
- Measure the height and width of your door frame accurately to determine the size of the sliding door kit you need.
- Ensure that the wall and floor where you plan to install the door are level and plumb. If they are not, you’ll need to use shims during installation to achieve a level and plumb door frame.
Step 2: Assemble the Door Panels
- Follow the manufacturer’s instructions carefully to assemble the sliding door panels. This typically involves attaching any necessary hardware, such as rollers or handles, to the door panels.
- Ensure that all components are securely fastened to the door panels as per the manufacturer’s recommendations.
Step 3: Install the Track
- Position the track at the desired height on the wall where you want the sliding doors to slide.
- Use a tape measure and level to ensure that the track is perfectly level and parallel to the floor. Any deviation from level can cause the doors to operate poorly.
- Mark the locations for the screw holes in the track on the wall.
- Drill pilot holes at the marked locations, and then secure the track to the wall using screws provided with the kit. Ensure the track is firmly attached and level.
Step 4: Install the Door Frame
- If your sliding door kit includes a door frame, follow the manufacturer’s instructions to assemble it. This typically involves connecting frame pieces and attaching necessary hardware.
- Position the assembled frame in the opening where you want the sliding doors. Use shims to level and plumb the frame, ensuring it fits snugly within the opening.
- Check for level and plumb using a level. Adjust the shims as needed to achieve a perfectly level and plumb frame.
- Once the frame is correctly positioned and leveled, mark the locations for the screw holes on the frame.
- Drill pilot holes at the marked locations and secure the frame to the wall using screws. Be cautious not to overtighten, as it may cause the frame to warp or distort.
Step 5: Install the Rollers
- Hang the sliding door panels on the track by placing them onto the rollers. Follow the manufacturer’s instructions for attaching the rollers and hanging the doors.
- Adjust the roller height as needed to ensure the doors slide smoothly without scraping or dragging.
Step 6: Adjust and Test
- Carefully adjust the rollers to achieve a smooth operation. If necessary, refer to the manufacturer’s instructions for guidance on adjusting roller height and alignment.
- Test the doors by sliding them back and forth to ensure they open and close smoothly and without any obstructions.
Step 7: Finish and Secure
- Fill any visible screw holes on the frame and track with wood putty to create a seamless appearance. Allow the putty to dry, and then sand it smooth.
- Finish the door frame with paint or stain to match your interior decor. Ensure that the paint or stain is completely dry before moving on.
Step 8: Final Checks
- Double-check the operation of the doors to ensure they slide smoothly and without any issues.
- Confirm that the doors lock securely if they have a locking mechanism.
- Make any necessary adjustments to ensure the doors are level and plumb within the frame.
By following these detailed steps, you can successfully install sliding doors that enhance the functionality and aesthetics of your living space. If you encounter any challenges during the installation process, refer to the manufacturer’s instructions or consider seeking assistance from a professional installer. If you need help, you can contact us.
Comments