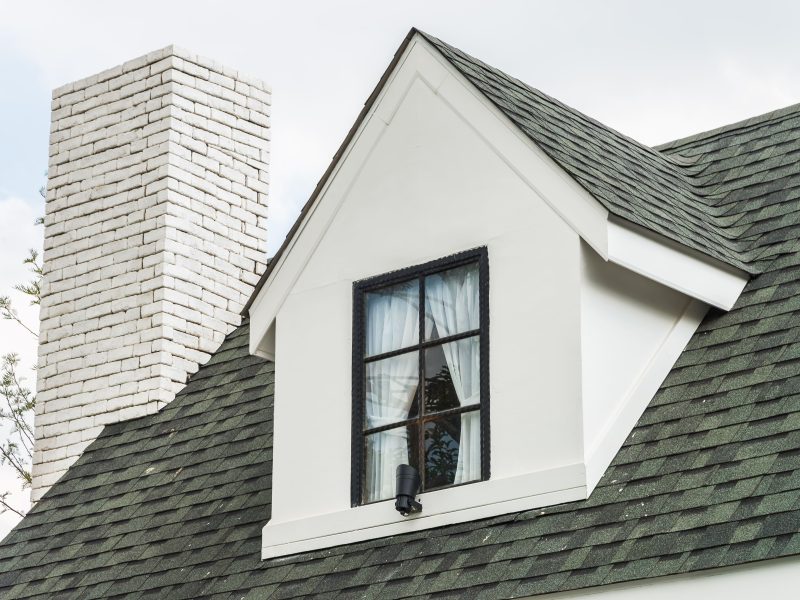
A chimney is required for a working fireplace to allow dangerous combustion gases to escape your home. Hot air from a fire in a fireplace rises through the column of a chimney, creating a draft that pulls more air into the fireplace, feeding the fire. Chimneys are more complicated than they appear. The outside is generally brick, but the flue—the interior column—is typically made of clay tile. And in fact there are generally two flues: One for the fireplace, and one for the home’s central heating system.
Chimneys require regular inspection and upkeep. According to Rania Sarras, owner of The Chimney Chap in Duxbury, Massachusetts, a certified chimney sweep should inspect and clean your chimney and fireplace on an annual basis. Sarras cautions against taking on any type of chimney repair if you have no experience, but if it turns out your chimney needs work, and you are a relatively handy homeowner, and you have no fear of heights. Repairing a brick chimney can be a complex task, but if you’re a beginner, there are some basic steps you can take to address minor issues. However, it’s important to note that significant chimney repairs should be handled by professionals. Here’s a guide for beginners on how to repair a brick chimney.
Materials Needed
- Safety goggles
- Dust mask
- Work gloves
- Chisel or brick hammer
- Masonry trowel
- Mortar mix
- Water
- Wire brush
- Jointing tool or pointing trowel
- Brick sealer (optional)
Step-by-Step Guide
1. Safety First
Put on safety goggles, a dust mask, and work gloves to protect yourself during the repair process.
2. Assess the Damage
Examine the chimney for any signs of damage, such as loose or cracked bricks, crumbling mortar joints, or water leaks. Identify the areas that need repair.
3. Prepare the Work Area
Clear the area around the chimney and protect nearby surfaces with drop cloths or plastic sheeting to prevent damage or debris.
4. Remove Damaged Mortar
- Use a chisel or brick hammer to carefully remove any loose or damaged mortar from between the bricks. Be gentle to avoid damaging the bricks themselves.
- Use a wire brush to clean out any remaining debris or dust from the joints.
5. Prepare Mortar Mix
Follow the manufacturer’s instructions to prepare the mortar mix by adding water and mixing it to a workable consistency. Wear gloves when handling the mortar mix.
6. Apply Mortar to Joints
- Use a masonry trowel to scoop up mortar and apply it to the cleaned joints, filling them completely.
- Press the mortar into the joints using the trowel or a pointing trowel to ensure good adhesion.
- Smooth the mortar joints with a jointing tool or pointing trowel for a finished appearance.
7. Match Mortar Color (if necessary)
If you want to match the existing mortar color, you can add mortar dye to the mix according to the manufacturer’s instructions.
8. Allow Mortar to Cure
Let the repaired mortar joints cure for the recommended time, typically 24 to 48 hours, or as specified by the mortar mix manufacturer.
9. Clean the Brick Surface
Once the mortar has cured, use a wire brush to remove any excess mortar from the face of the bricks.
10. Consider Sealing the Bricks (optional)
If desired, apply a brick sealer to protect the surface of the bricks and improve their longevity. Follow the instructions on the sealer product for application.
11. Regular Maintenance
Keep an eye on your chimney for any signs of further damage, such as new cracks or loose bricks. Address any issues promptly to prevent further deterioration.
Remember, for more significant chimney repairs or if you are unsure about the extent of the damage, it’s best to consult a professional chimney repair specialist. They have the expertise and equipment to handle more complex chimney repairs and ensure safety and structural integrity. If you need help, you can contact us.
Comments