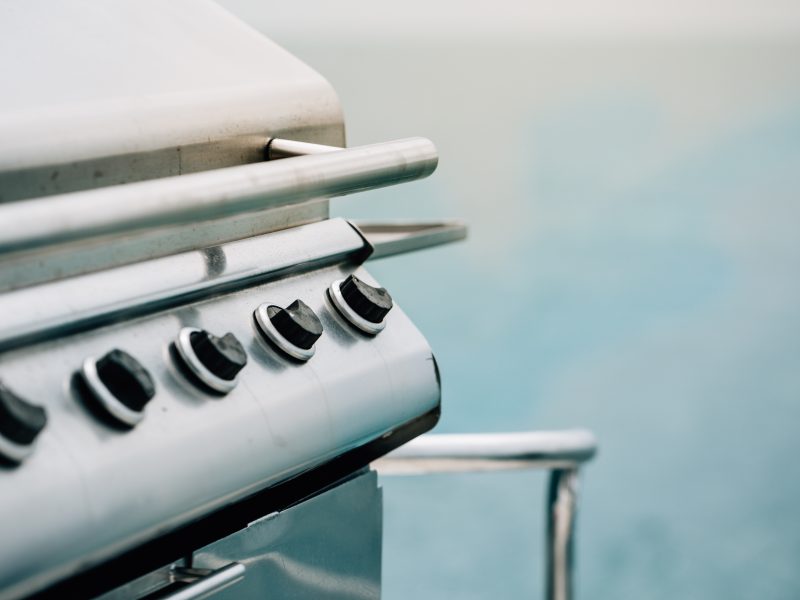
Using a gas grill for the first time can be an exciting experience. Here’s a step-by-step guide that includes the tools and materials you’ll need.
Tools and Materials Required
- Gas grill
- Propane tank or natural gas line connection
- Propane tank (if using a propane grill)
- Gas leak detector solution or soapy water
- Long-handled lighter or grill ignition system
- Wire grill brush
- High smoke-point cooking oil (e.g., vegetable or canola oil)
- Food for grilling
- Oven mitts or heat-resistant gloves
- Thermometer (optional, for temperature monitoring)
Step-by-Step Guide
1. Read the manual
Before using the gas grill, carefully read the manufacturer’s manual for specific instructions and safety guidelines.
2. Choose a safe location
Place the gas grill in a well-ventilated outdoor area, away from flammable materials and structures.
3. Check the gas supply
- Ensure the propane tank valve is closed (if using a propane grill).
- If using a natural gas grill, ensure the gas line is properly connected to the gas source and the shut-off valve is closed.
4. Connect the gas source
- For a propane grill, connect the regulator hose to the propane tank. Ensure the connections are secure.
- If using a natural gas grill, ensure the gas line is properly connected to the gas sourc
5. Perform a leak test
- Mix a solution of soapy water or use a gas leak detector solution.
- Apply the solution to all gas connections, including the regulator hose, tank valve, and gas line connections.
- Slowly open the propane tank valve (for propane grills) or the gas shut-off valve (for natural gas grills).
- Check for any bubbles forming, indicating a gas leak. If a leak is detected, immediately turn off the gas supply and address the issue before proceeding.
6. Preheat the grill
- Open the grill lid and turn the burners to the high setting.
- Ignite the burners using the grill’s ignition system or a long-handled lighter.
- Allow the grill to preheat for 10-15 minutes, with the lid closed, to burn off any manufacturing residues and ensure proper temperature distribution.
7. Adjust the burner controls
- Once preheated, adjust the burner controls to your desired temperature.
- Most grills have separate controls for each burner, allowing you to create different heat zones.
8. Clean the grill grates
Use a wire grill brush to clean the grill grates and remove any debris or residue from previous use.
9. Oil the grates
Lightly oil the grill grates to prevent food from sticking. Use a brush or folded paper towel to apply a high smoke-point cooking oil to the grates.
10. Start grilling
Place your food on the preheated grill, close the lid, and cook according to your recipe or desired cooking times and temperatures.
Remember to use oven mitts or heat-resistant gloves when handling hot surfaces and utensils. Use a thermometer to ensure your food reaches the desired internal temperature if necessary. Enjoy your grilling experience and deliciously cooked food!

Comments